
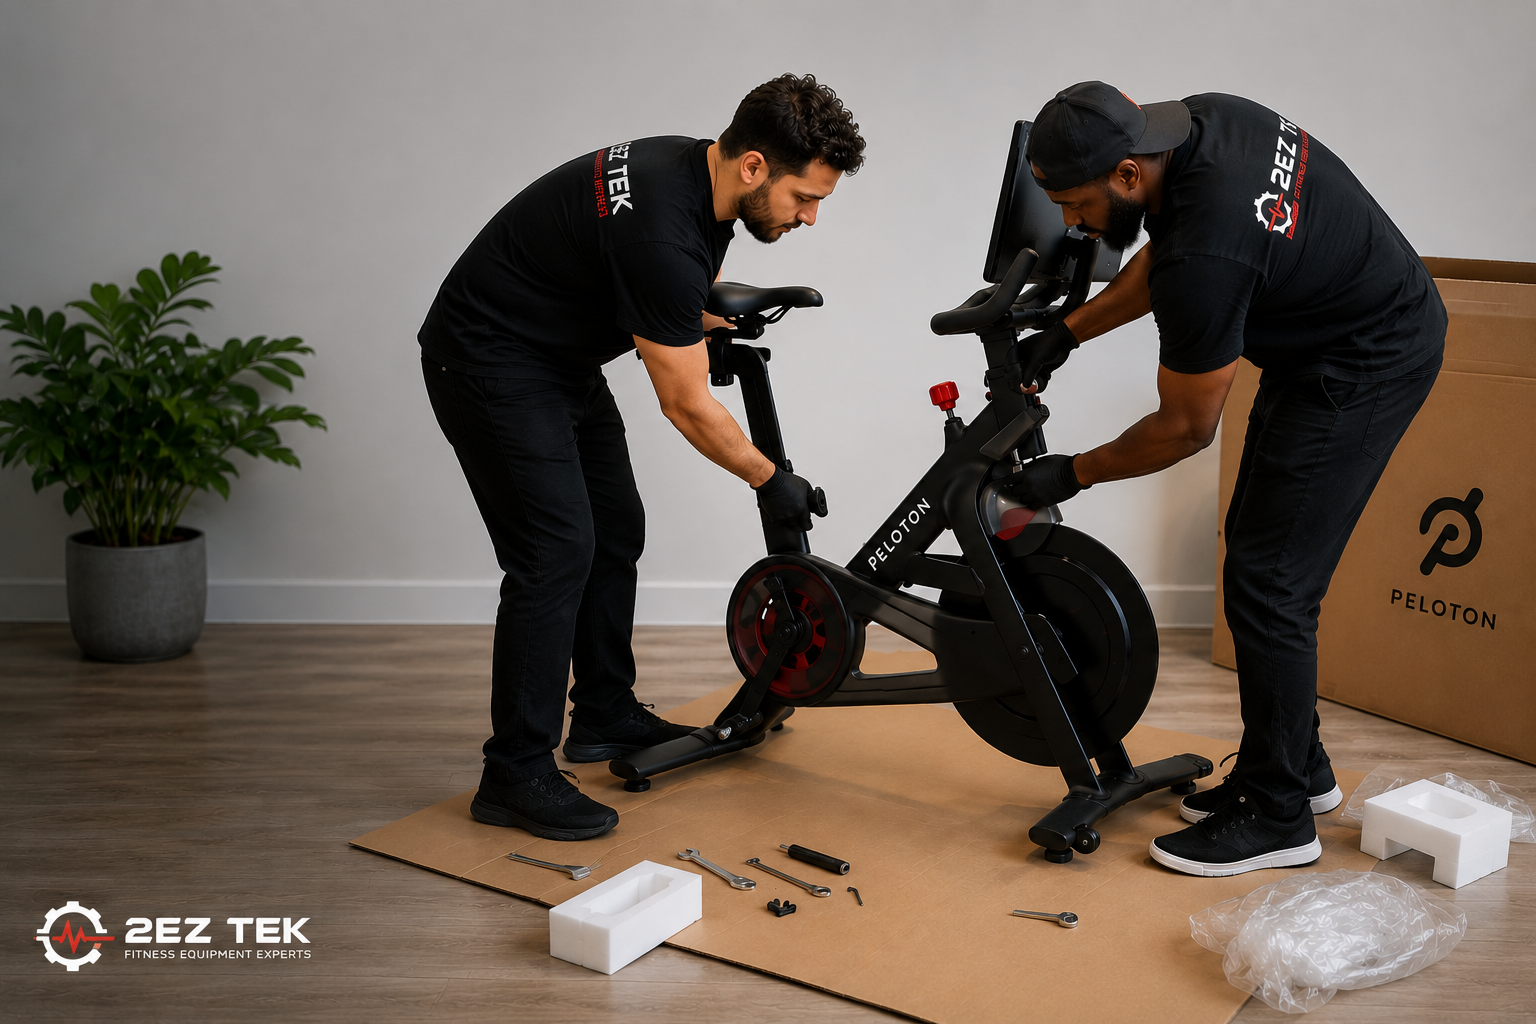

Your Peloton bike is assembled, the screen is on, and you're ready to ride. But the resistance knob isn't responding the way it should. The on-screen resistance numbers don't match what you're feeling, the calibration process fails, or the knob spins without any noticeable change in tension. This is one of the most common issues we see after Peloton bike assembly in Dallas Fort Worth homes, and it almost always has a fixable mechanical or electronic cause.
Common Symptoms
- Resistance reads zero or maxed out at rest. The touchscreen shows an extreme value even when the knob is in the middle position, pointing to a sensor alignment problem.
- Calibration process fails mid-cycle. You start the guided calibration in the settings menu and it stops, freezes, or throws an error before completing.
- Knob turns freely with no physical resistance change. You can spin the knob all the way in either direction and the flywheel tension doesn't change at all.
- Resistance jumps erratically during a ride. The number on screen fluctuates wildly without you touching the knob, making structured workouts impossible.
- On-screen resistance doesn't match instructor cues. You're at what the screen calls resistance 40 but it feels like resistance 10, or vice versa, meaning the sensor is reading incorrectly.
- Clicking or grinding sound when adjusting resistance. A mechanical noise during knob adjustment suggests the brake pad assembly or tension mechanism wasn't seated correctly during setup.
- Touchscreen shows a calibration error code. The bike displays a specific error message referencing resistance or calibration, which usually means the magnetic resistance sensor needs attention.
Root Causes: What Is Actually Happening
- Magnetic resistance sensor misalignment. The Peloton bike uses a magnetic resistance system controlled by a sensor that reads the position of the resistance knob. During assembly, if the sensor bracket isn't seated flush against the frame or the magnet housing shifted, the sensor reads incorrect values. This is the most common cause of failed calibration after a fresh setup.
- Loose or unplugged resistance sensor cable. There is a small wire harness that runs from the resistance knob mechanism to the bike's main control board. If this cable wasn't fully connected during assembly or got pinched when the frame components were tightened, the signal breaks and calibration cannot complete.
- Brake pad assembly not properly installed. The Peloton's resistance is created by felt brake pads pressing against the flywheel. If these pads were installed at the wrong angle or the tension roller wasn't adjusted to the correct starting position, the physical resistance won't match what the sensor reports.
- Motor control board communication error. On Peloton Bike Plus models, the resistance system communicates with the main control board electronically. A firmware glitch during the initial setup or a loose ribbon cable can cause the board to lose communication with the resistance assembly entirely.
- Reed switch damage or incorrect positioning. Some Peloton models use a reed switch to detect flywheel rotation and sync it with resistance output. If this switch was bumped out of position during shipping or assembly, the bike cannot properly calibrate resistance against actual pedaling speed.
- Frame components overtightened during assembly. It sounds counterintuitive, but overtightening the bolts on the resistance knob housing can warp the bracket slightly, pulling the sensor out of its calibrated range. This is especially common when assemblers use power tools instead of a torque wrench on the resistance assembly hardware.
What NOT to Do
- Do not run the calibration process repeatedly without fixing the root cause. Running calibration five or ten times in a row when there is a physical sensor or cable issue will not resolve the problem. It can actually write incorrect baseline values to the control board, making a future proper calibration harder to complete.
- Do not crank the resistance knob to the stops repeatedly trying to force it to register. Forcing the knob to its mechanical limits over and over puts stress on the brake pad assembly and the tension roller. You can wear down the felt pads prematurely or bend the resistance bracket before a technician even gets a chance to look at it.
- Do not disassemble the resistance housing without a service manual. The magnetic resistance system on a Peloton has specific torque specs and alignment tolerances. Opening that housing without knowing what you're doing can knock the magnet assembly out of position and turn a simple sensor fix into a full resistance unit replacement.
- Do not assume a factory reset will fix a mechanical problem. A lot of homeowners try resetting the touchscreen or reinstalling the Peloton software when the resistance won't calibrate. If the problem is a misaligned sensor, a loose cable, or an improperly installed brake pad, no software reset will touch it. You'll waste time and still need a technician.
Professional Repair in Dallas Fort Worth
2EZ TEK serves residential fitness equipment owners across Dallas Fort Worth, including homeowners with a Peloton in their bedroom, garage, or guest room. A lot of repair companies in this area only take commercial accounts, meaning a hotel gym gets same-week service but you're left waiting or turned away entirely. That's not how we operate. If you bought a Peloton for your home, you deserve the same professional diagnosis and repair that any commercial facility gets, and that's exactly what we provide.
Our technicians work on Peloton Bike, Peloton Bike Plus, and Peloton Tread units regularly. When a resistance calibration issue comes in, we check the sensor alignment, inspect the cable harness from the knob to the control board, verify brake pad installation, and confirm the reed switch position before touching any calibration software. We fix the physical problem first, then calibrate. That approach is why 2EZ TEK has earned 500-plus five-star reviews from homeowners across the DFW metroplex.
We offer same-week service appointments throughout Dallas Fort Worth, including Plano, Frisco, McKinney, Arlington, Fort Worth, and surrounding areas. You don't need to haul your Peloton anywhere. We come to your home, diagnose the issue on-site, and get you back on the bike fast.
Frequently Asked Questions
Can I calibrate my Peloton resistance myself without a technician?
If the calibration failure is purely a software glitch and there is no physical issue with the sensor, cable, or brake assembly, the guided calibration in the Peloton settings menu can sometimes resolve it. However, if you've already tried calibration once or twice and it keeps failing or giving wrong readings, there is almost certainly a mechanical or wiring issue underneath it. Continuing to attempt self-calibration at that point won't help and can make the repair more complicated.
My Peloton was just delivered and assembled by a third-party service. Is assembly error really that common?
Yes, it's more common than most people expect. Third-party assembly services move quickly and don't always follow Peloton's specific torque and alignment specs for the resistance housing. The resistance sensor bracket and the cable harness connection are the two spots that get rushed most often. If your bike came out of assembly already showing calibration problems, an assembly error is the first thing a technician should check.
How long does a Peloton resistance calibration repair usually take?
For most residential Peloton bikes in Dallas Fort Worth, a resistance sensor realignment, cable reseating, and proper calibration takes one to two hours on-site. If a component like the brake pad assembly or the resistance sensor itself needs to be replaced, the timeline depends on parts availability, but most common Peloton components can be sourced quickly in the DFW area.
Get It Fixed This Week
Contact 2EZ TEK today to schedule a same-week Peloton repair appointment at your Dallas Fort Worth home. Don't let a calibration issue keep you off the bike.